

Where pipes freeze, and at what temperature
Water pipes do not freeze because the house is cold. They freeze because one section of pipe sits in air that is much colder than the rest, usually with a draft moving across it. The suspects are the same in every house: outside hose bibs, supply lines in a vented crawl space, pipes in an unheated garage or along a garage wall, lines inside exterior walls behind kitchen and bathroom cabinets, anything in an attic, and plumbing in an unheated addition, porch or bonus room over a garage.
The number to watch is 20°F. The Insurance Institute for Business & Home Safety puts the point where unprotected pipes in unheated spaces begin to freeze at about 20°F outdoors, and the first night the forecast crosses it is when the calls started for us. In cold climates the risk is a long stretch of single digits; in the South it is the one hard freeze a decade that finds every uninsulated pipe at once, because nobody there has ever had to think about it.
Insulation slows heat loss; it does not add heat. A sleeved pipe in a 10°F crawl space with a draft on it will still freeze, just later. That is why the checklist starts with keeping cold air off the pipes and ends with heat cable only where nothing else works.
Tools and materials
- Foam pipe sleeves sized to the pipe's outside diameter (1/2 in. copper is 5/8 in. OD, 3/4 in. is 7/8 in. OD; PEX and CPVC are labeled by nominal size on the sleeve bag), with the seams taped
- Spray foam or caulk for gaps where pipes pass through the rim joist, sill, walls and floors; foam blocks or vent covers for crawl space vents
- Insulated hose bib covers
- A flashlight, gloves, a utility knife and tape
- If a run needs it: UL- or CSA-listed self-regulating pipe heat cable in the right length, a GFCI-protected outlet within reach of its plug, and fiberglass pipe wrap if the cable's instructions allow insulation over it
- For a vacant house: RV (propylene glycol) antifreeze for traps and toilet bowls, never automotive antifreeze
- A thermometer or a leak sensor that reports temperature for the coldest spot
Before the first freeze: outside in
- 1
Take every hose off every bib
A hose left on traps water in the spigot, and that is the most common frozen-pipe story there is. Even a frost-free sillcock, which closes a foot inside the warm wall and drains itself, cannot drain with a hose or a quick-connect attached; it freezes and splits inside the wall, and the owner finds out in April when the hose goes back on. Hoses off, drained and stored. Splitters and timers off too.
- 2
Drain standard hose bibs from inside
If a bib is not frost-free (the handle is right at the wall and the pipe runs straight in), find its shutoff inside, usually a stop-and-waste valve on the line a few feet back. Close it, go outside and open the bib fully, then come back and open the small waste cap on the side of the valve with a cup under it; that drains the trapped length. Leave the outside bib open all winter. Then put an insulated cover over every bib, frost-free or not; it keeps the draft off the stem.
- 3
Blow out or drain the irrigation
Close the irrigation supply and drain the backflow preventer and the line between it and the shutoff. Then either open the manual or automatic drains at the low points, or blow the zones out with a compressor; Hunter's winterization guidance calls for an 80 to 100 CFM compressor on mainlines of 2 in. or less, air pressure never above 80 psi for PVC or 50 psi for polyethylene, eye protection, nobody standing over the heads, no air through the backflow device, and stopping as soon as a zone runs dry. Most homeowners' pancake compressors cannot deliver the volume; a landscaper does this in twenty minutes.
- 4
Find every pipe outside the heated envelope
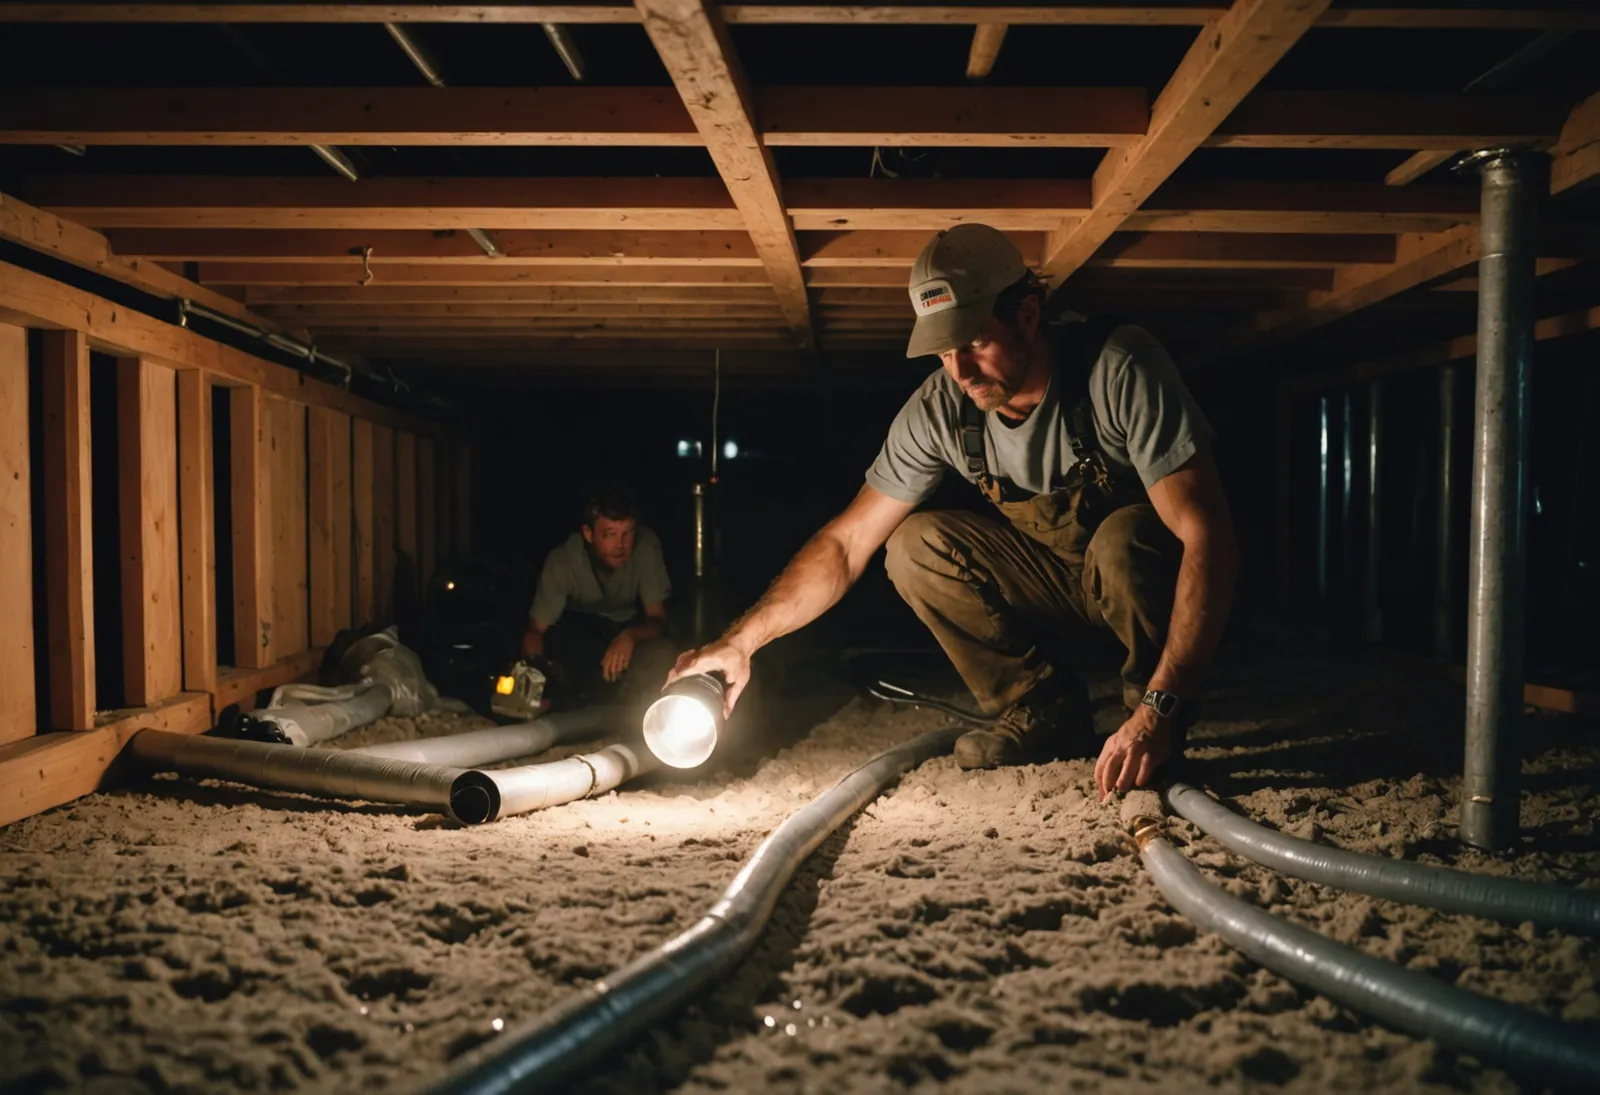
With the flashlight, follow the water lines through the crawl space, the garage, the attic and any unheated addition, and open the cabinets under every sink on an exterior wall. Note each run, how it is supported, and whether you can feel moving air near it. Cold air moving across a pipe is what freezes it; a still pocket is far more forgiving.
- 5
Seal the air leaks first, then sleeve the pipes
Foam or caulk the gaps where pipes pass through the rim joist and exterior walls, around the hose bib penetrations, and at the sill. Close and cover crawl space vents for the winter; an open vent beside a supply line is a wind tunnel on the coldest night, and our crawl space vents guide covers the whole-year question. Then sleeve every exposed run, hot and cold, as the Red Cross advises; the hot line freezes too once the heater is off at night. Butt the sleeves tight, tape the seams and the elbows, and do not leave the last foot bare where the pipe enters the wall.
- 6
Decide where heat cable is justified
Any run that is still in freezing air after sealing and sleeving, and cannot be rerouted, is a heat cable candidate: a supply in a crawl space with no insulation above it, the line to a well house or barn, a pipe along the outside wall of an unheated garage, a mobile home's supply riser. Heat cable is not a substitute for closing the vent next to the pipe. The next section covers how to do it safely.
- 7
Set up the cold-snap routine before you need it
Know which faucets sit on exterior walls or at the far end of the house, clear the cabinets under them so the doors can stay open, confirm the garage door closes fully, and put a thermometer or a temperature-reporting leak sensor at the coldest pipe you found. Write down where the main shutoff is and make sure it turns; our shutoff guide covers finding and testing it. The night the forecast says 20°F, you will have ten minutes, not an afternoon.
Heat cable: when it makes sense and how to do it safely
What it is. Pipe heat cable (heat tape, heat trace) is an electric heater that runs along the pipe under insulation. Self-regulating cable changes its own output with temperature, puts out more heat where the pipe is coldest, can be cut to length from a reel, and can usually be overlapped and run under insulation; it is the kind we would use on anything we cared about. Constant-wattage cable comes in fixed lengths with a plug and a built-in thermostat, costs less, and has stricter rules about overlapping and insulating because it keeps heating regardless.
When it is the right answer. A run that stays in freezing air after you have sealed the drafts and sleeved the pipe, and that you cannot move inside the heated envelope: crawl space supply lines with no insulated floor above, well house and outbuilding lines, pipes on the cold side of a garage, mobile home risers, and the occasional sump discharge or condensate line that freezes solid. It is the wrong answer for a pipe in a kitchen cabinet; open the door and fix the draft.
The safety rules, from the CPSC and the cable makers. The Consumer Product Safety Commission has estimated that about 1,500 fires, 10 deaths and 100 injuries a year result from faulty heat tapes, most of them old, uncertified or misapplied. Its guidelines, which match what every manufacturer's instruction sheet says:
- Buy only cable certified by UL, CSA or FM, and use it only on the pipe material the instructions list; some cables are for metal pipe only, and plastic pipe needs a cable rated for it.
- Plug it into a GFCI-protected outlet, with a grounded three-prong plug, and never an extension cord.
- Apply the cable directly to the pipe, not over insulation, following the maker's spacing or spiral pitch; do not wrap it over itself unless the instructions specifically allow it (self-regulating usually does, constant-wattage usually does not).
- Insulate over it only if the instructions say so, and then with fiberglass pipe wrap, not foam or vinyl, unless the cable is listed for use under foam.
- If the cable has a thermostat, mount it where the instructions say: in contact with the pipe, under the insulation, at the coldest point.
- Keep the end seal and the plug dry and off the ground. Do not run the cable through walls, floors or ceilings, and keep it off valves and unions unless the instructions show how.
- Inspect it every fall: discoloration at the plug, charring, cracked or cut jacket, bare wire. The CPSC recommends replacing uncertified tape more than three years old; we would replace any cable that shows damage regardless of age.
- Test it before the freeze: a self-regulating cable warms slowly to the touch when plugged in on a cold day; a thermostatic cable will not turn on until the pipe is near 40°F, so test it per the instructions rather than assuming.
Heat cable protects the length of pipe it touches. A cable that ends a foot short of the elbow at the wall protects everything except the elbow, which is where the split happens.
The cold-snap routine
The night the forecast crosses 20°F, or any night below freezing in a house that has never been winterized:
- Open the cabinet doors under every sink on an exterior wall, kitchen and bathrooms, so room air reaches the pipes. Move the cleaners out of reach of children first.
- Let a faucet drip. A trickle the width of a pencil lead from the faucet farthest from where the water enters the house, and from any faucet fed by a pipe in an exterior wall; open the hot side a little too. Moving water freezes later, and an open faucet relieves the pressure that actually splits a pipe when ice forms behind a closed valve.
- Keep the garage door closed if there are water lines in or along the garage, and the door between the garage and the house closed too.
- Keep the thermostat at one setting day and night, and never below 55°F when you are away, which is the Red Cross guidance. A nightly setback to 60°F in a drafty house is enough to freeze a pipe in an exterior wall that was fine at 68°F.
- Leave interior doors open so heat reaches the rooms over the garage and at the ends of the house.
- Check the coldest pipe you flagged in the fall, by hand or by the sensor, before bed.
Leaving for the winter
For a house that will sit empty in freezing weather for more than a few days:
- Close the main shutoff and open every faucet, hot and cold, highest to lowest, until they stop. Open the outside bibs and the drain on the main if there is one.
- Turn off the water heater (breaker for electric, control to OFF or VACATION for gas) before you drain the house, so an electric element is never energized above the water line. If the house will be unheated, drain the heater through its drain valve to a floor drain.
- Flush each toilet with the water off and hold the handle to empty the tank, sponge the last of the bowl out, and pour RV antifreeze into the bowl and into every sink, tub and shower trap. Never automotive antifreeze.
- Drain or bypass the water softener, the icemaker line and any filter housings per their instructions; they hold water in places that split.
- Leave the heat on at 55°F if the house is not fully drained. If it is drained and the heat is off, leave cabinet doors open anyway so the empty pipes are not stressed by trapped water at low points.
- Have someone walk through weekly, or put a temperature-reporting sensor in the coldest room and the crawl space so your phone knows before the pipes do.
Freeze alerts: let a sensor stand watch
The sensors we already recommend for leaks earn a second job in winter. A leak sensor that reports temperature, placed at the coldest pipe you found in the fall, warns you when the crawl space or the garage wall drops toward freezing, hours before a pipe does, and the same device tells you the moment the pipe lets go. Set the low-temperature alert in the high 30s. Two that do it well, and where each belongs:
Moen Smart Water Detector (920-004)
The no-hub sensor that can tell a Flo to close the main.
Best for hub-free Wi-Fi monitoring with temperature and humidity, and anyone with a Moen Flo on the main.
Score breakdown
| Battery life | 24 | 3.3 |
| Phone alerts | true | 10.0 |
| Radio reliability | wifi | 5.0 |
| Freeze warning | true | 10.0 |
| Probe cable | true | 10.0 |
| Local siren | n/a | — |
| Temperature and humidity logging | true | 10.0 |
| Warranty | 1 | 5.0 |
| No hub needed | false | 10.0 |
Stars are DryHomeLab's rating from the published rubric (score ÷ 2, to the half star). Not a customer rating.
- No hub; joins 2.4 GHz Wi-Fi directly
- 48-in remote sensing disc included; 6-ft cables chain up to three
- Temperature and humidity alerts double as freeze and damp-basement warnings
- Triggers a Flo Smart Water Shutoff to close the main
- Works standalone; battery level reported in the app
- Two-year battery life is the shortest of the connected sensors here
- Only as reliable as your Wi-Fi at the sensor location
- No published siren rating
- One-year warranty
Moen's detector connects straight to 2.4 GHz Wi-Fi, so there is no gateway to buy and nothing extra on the shelf. It senses water on its base and on a 48-in remote sensing disc that comes in the box, which lets the body sit dry on the shelf of a water heater closet while the disc sits in the pan. Moen's optional 6-ft Leak Sensing Cable (920-006) extends that, and up to three cables link together.
It also reports room temperature and humidity with user-set alert ranges, temperature from 0 to 140°F and humidity across the full 0-100% RH scale, so a low alert at 38°F works as a freeze warning for a garage or crawl space, and a humidity alert catches a damp basement before it smells. The operating range is -20 to 140°F.
Power is a single CR123A lithium cell that Moen rates for up to two years, with battery level reported in the app. Warranty is one year. Moen does not publish a decibel rating for the audible alarm.
The feature that sets it apart: paired with a Flo Smart Water Shutoff on the main line, a wet disc triggers the valve to close. That turns a sensor under the dishwasher into whole-house protection. It works standalone too.
Buy it if you want hub-free Wi-Fi sensors with temperature and humidity, especially if a Flo is already installed or planned. Skip it for crawl spaces and pits beyond Wi-Fi reach; that is YoLink territory. The 3-pack is 920-005.
Ring Alarm Flood & Freeze Sensor
The obvious add-on if a Ring Alarm base station already runs your house.
Best for homes already running Ring Alarm that want water and freeze alerts in the same app.
Score breakdown
| Battery life | 36 | 5.6 |
| Phone alerts | true | 10.0 |
| Radio reliability | z-wave | 7.0 |
| Freeze warning | true | 10.0 |
| Probe cable | false | 0.0 |
| Local siren | n/a | — |
| Temperature and humidity logging | false | 0.0 |
| Warranty | 1 | 5.0 |
| No hub needed | true | 7.0 |
Stars are DryHomeLab's rating from the published rubric (score ÷ 2, to the half star). Not a customer rating.
- Freeze alert plus water detection in one puck
- Lives in the Ring app alongside the rest of the alarm
- Three-year battery on a lithium cell
- Z-Wave is reliable through a few walls and does not load your Wi-Fi
- Requires a Ring Alarm base station
- Ring notes a compatible subscription is required for alerts
- No extension cable; the sensor must sit at the low spot
- No published siren rating on the sensor
If you already own Ring Alarm, this is the cheapest way to add water and freeze monitoring that shows up in the same app as your door sensors. It is a Z-Wave puck, 2.95 in across and about an inch tall, that Ring rates at 250 ft to the base station. It needs a Ring Alarm or Ring Alarm Pro kit; without a base station it does nothing.
The sensor does two jobs: it alerts when its contacts get wet and when the temperature drops toward freezing, which is the warning that matters most in an unheated garage or a cabin. Ring powers it with a non-rechargeable 3 V lithium cell and quotes a maximum of three years, and the operating range is 32°F to 120°F. Alerts go out as mobile and email notifications, and Ring's own footnote says a compatible Ring subscription is required for that feature, so budget for the plan.
There is no extension cable, so the puck has to sit where the water will be, and Ring does not publish a siren rating for the sensor itself; the base station and keypad do the shouting. Warranty is one year.
Buy it if a Ring base station is already on the wall and you want freeze alerts in the same app. If you are starting from zero, a Govee or YoLink kit gives you three sensors with longer battery life for about the same money, without a monthly plan.
Customer reviews: read them on Amazon (paid link). We link to them and never copy or score them.
Crawl spaces and detached buildings are often beyond Wi-Fi; a long-range LoRa system reaches them, and the leak detector roundup covers the options. Our sensor placement guide has the map for the rest of the house.
If a pipe is already frozen
- 1
Open the faucet, then find the frozen section
If a faucet gives a trickle or nothing on a freezing morning, open it fully, hot and cold, and leave it open; as the ice melts, water and steam need somewhere to go, and the flow helps clear the rest. Then trace the line back from the faucet toward the exterior: frost or condensation on a short section, a slight bulge, or a stretch that is noticeably colder to the hand marks the spot. It is almost always within a few feet of an exterior wall, a vent or a draft.
- 2
Apply gentle heat, starting at the faucet end
Warm the pipe with a hair dryer, an electric heating pad wrapped around it, towels soaked in hot water and rewrapped as they cool, or a portable space heater kept well clear of anything flammable and never left alone. Work from the faucet end toward the frozen section so melting ice can drain rather than trap pressure. Keep heating until full flow returns, then check the rest of the exposed run; where one section froze, another usually has.
- 3
Never use an open flame
No propane torch, no kerosene or propane heater, no charcoal, no heat gun on high against a joist. The Red Cross and every fire department say the same thing, and the house fires that follow a torch on a frozen pipe are worse than any burst pipe. Boiling water in the pipe from a torch can also burst it on the spot. If the frozen section is inside a wall or ceiling, warm the room, open the cavity if you can reach it, or call a plumber, who has thawing equipment that does not involve fire.
- 4
Check for splits once it thaws
Ice expands and splits copper and CPVC along their length; PEX swells and usually survives one freeze but not several. As flow returns, look and listen along the whole run and inside the cabinets and ceilings below it. A split that was frozen shut will start leaking the moment it thaws, which is why the first warm afternoon after a cold snap was one of our busiest days.
- 5
If it has burst: main off, then the first hour
Close the main shutoff (lever perpendicular, or wheel clockwise until it stops) and open the lowest and highest faucets to drain the pressure; our shutoff guide covers a valve that will not turn. Kill the breaker to any area where water has reached outlets or fixtures before you step in. Then follow the first-hour emergency checklist: document, extract, airflow, and professional drying within 24 to 48 hours. A plumber repairs the pipe; a restoration contractor dries the house, and both can be reached through the emergency page.
When to call a pro
Call a plumber to reroute a line that freezes every winter out of the exterior wall or crawl space, to replace a standard hose bib with a frost-free sillcock, to install heat cable on a long or hard-to-reach run and the GFCI circuit it needs, to thaw a pipe inside a wall or ceiling, or to winterize a vacant house if you are not sure every low point has drained. Call a landscaper or irrigation company for the blowout if you do not own a compressor that can deliver the volume. If a pipe has burst, the first call after the main is off is the emergency page, which reaches plumbers and restoration contractors through HelpMeNow.com; the form below is for the planning jobs.
Frequently asked questions
At what temperature do pipes freeze?
Water freezes at 32°F, but pipes inside a house are protected by the heat around them. The Insurance Institute for Business & Home Safety puts the point where unprotected pipes in unheated spaces begin to freeze at about 20°F outdoors, and the risk climbs with wind and with time; a long night in the single digits will find pipes a brief dip to 20°F would not. Pipes in exterior walls, crawl spaces, garages and attics freeze first, especially with a draft moving across them.
Should I let faucets drip to prevent frozen pipes?
Yes, on nights below about 20°F or any hard freeze in a house that is not winterized. A trickle from the faucet farthest from where the water enters, and from any faucet fed by a pipe in an exterior wall, keeps water moving and relieves the pressure that splits a pipe when ice forms behind a closed valve. Open the hot side a little too. The water cost of one night is trivial next to a burst line.
What temperature should I keep my house to keep pipes from freezing?
Keep the thermostat at one setting day and night during cold snaps, and never below 55°F when the house is empty; that is the Red Cross guidance. The common failure is a nightly setback in a drafty house: the living room is fine at 60°F while the pipe in the exterior wall behind the kitchen sink drops below freezing. Open cabinet doors and interior doors so heat reaches the cold spots.
Is pipe heat cable safe?
Yes when it is certified by UL, CSA or FM, matched to the pipe material, plugged into a GFCI outlet, applied directly to the pipe per the manufacturer's spacing, not overlapped or insulated over unless the instructions allow it, and inspected every fall. The CPSC has estimated about 1,500 fires a year from faulty heat tapes, almost all old, uncertified or misused. Self-regulating cable is the safer type because its output falls as the pipe warms. Replace any cable with a damaged jacket or a discolored plug.
How do you thaw a frozen pipe without bursting it?
Open the faucet it feeds, find the frozen section (frost, a bulge or a cold stretch near an exterior wall), and warm it gently with a hair dryer, an electric heating pad, hot towels or a space heater, working from the faucet toward the ice so melt water can escape. Never use a torch or any open flame. Once flow returns, check the whole run for splits, which start leaking as they thaw. If the frozen section is inside a wall or you cannot find it, call a plumber.
Do I need to winterize frost-free outdoor faucets?
Only by removing the hose. A frost-free sillcock closes a foot or more inside the heated wall and drains through the spout when it is shut, so it protects itself, but it cannot drain with a hose, splitter or timer attached, and it will freeze and split inside the wall. Take everything off the spout, let it drip dry, and add an insulated cover to keep the draft off the stem. If it drips from the spout when closed, the washer is worn; fix it before winter.
The seasonal checklist, by email
One email when the season changes — freeze week, spring thaw, hurricane season — with the checklist for that month. No weekly newsletter, no selling your address.
We send one confirmation link first. Every email has a one-click unsubscribe. Privacy.
Check your inbox for the confirmation link; the checklist follows as soon as you click it.
You are on the list. The next email arrives when the season changes.
That did not go through. Check the address and try again.
DryHomeLab is written and reviewed by the team behind HelpMeNow.com, a marketplace that connects homeowners with vetted local contractors for water-damage restoration, plumbing and waterproofing. Before HelpMeNow the same team ran a 24/7 water-damage restoration company in the Seattle area; the equipment on this site is what we specified, bought and ran on real water losses. We publish the rubric behind every score.
- Ran a 24/7 water-damage restoration company, Seattle area
- Operate HelpMeNow.com, a contractor marketplace
- Publishes its scoring rubric